Retest Entries: A Patient Fix for False Breakouts
A retest entry waits for price to break a level, then return to it before entering. Learn how this breakout trading strategy filters false breakouts.
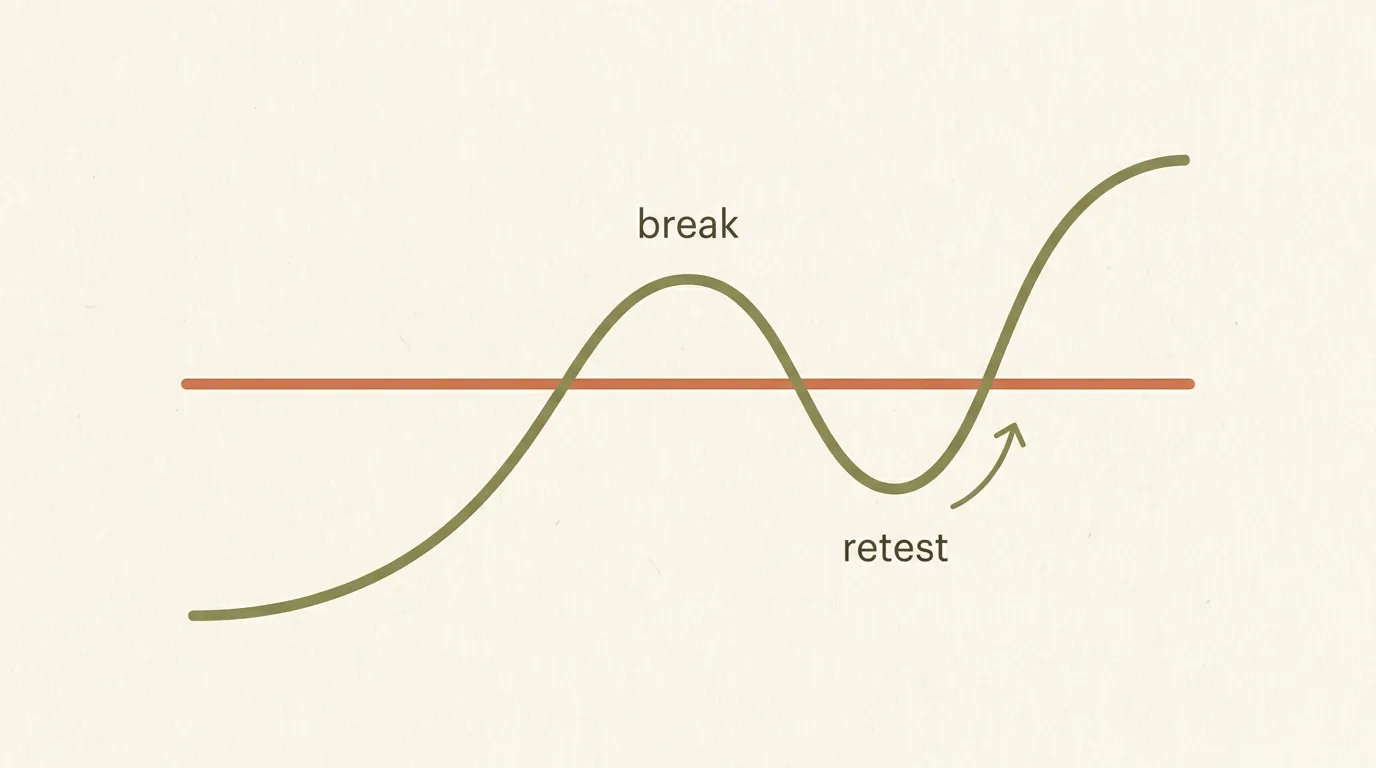
The problem with chasing the break
Buy the instant price clears resistance and you're often buying the exact candle that traps everyone else. False breakouts — where price pokes past a level then snaps back — are common, especially in low-volume conditions. A retest entry trades the same idea with more patience: wait for the break, then wait for price to come back to the broken level and hold before you commit.
The trade-off is simple. You give up some of the initial move in exchange for confirmation that the level has actually flipped.
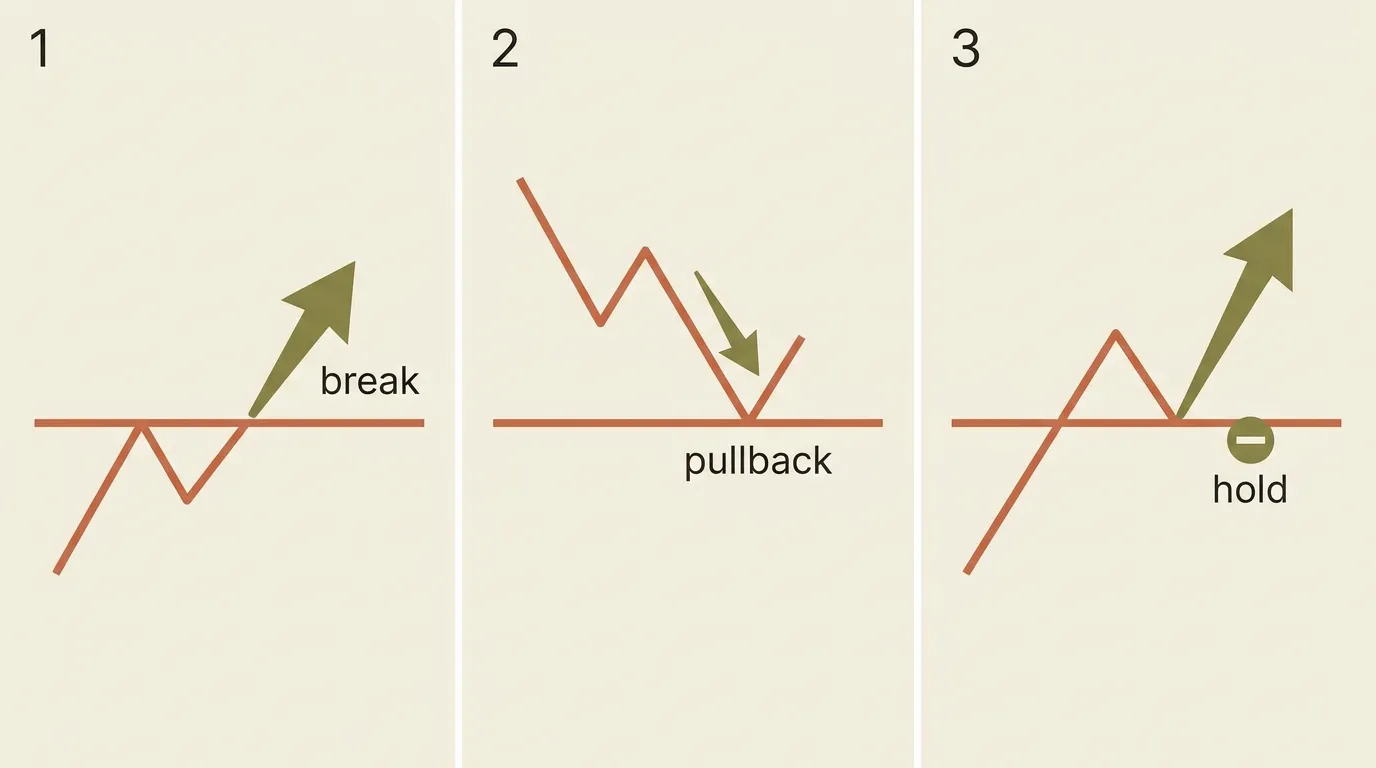
How a retest entry works
A clean retest plays out in three steps:
- The break. Price closes beyond a defined level — the top of a range, a swing high, or a trendline. A close beyond it matters more than a wick through it.
- The pullback. Price drifts back toward the level it just broke. Old resistance now acts as support (and vice versa for downside breaks).
- The hold. Price stalls at the level and turns back in the breakout's direction. That rejection is your entry trigger.
The core idea: a level that flips from resistance to support and holds is far more convincing than a single candle punching through it.
Your stop sits just on the wrong side of the retested level — if price closes back through it, the break failed and you're out cheaply. That tight, logical stop is the main structural advantage of retests over chasing.
Confirming the retest is real
Not every pullback is a healthy retest; some are the start of a full reversal. A few filters help separate them:
- Volume. A genuine breakout often shows a volume expansion on the break, then quieter, drying-up volume on the pullback. Heavy selling into the retest is a warning.
- Where it holds. Ideally price holds at or just above the broken level, not 3% below it. A deep retest that slices through the level is really a failed break.
- Volatility context. Breaks out of a tight volatility squeeze tend to retest more reliably than breaks that come after price is already stretched. Measuring range with something like the helps you size the stop to current conditions.
Define the retest zone as a small band around the level, not a single price. Real markets rarely tag an exact number — a tolerance band catches the intent without demanding perfection.
The honest downside: strong trends often don't retest at all. You'll miss those. Retests suit traders who prefer fewer, cleaner entries over catching every move.
Automating a retest without code
A retest rule is fiddly to trade by hand because it needs constant watching — break, then wait, then react at the right moment. That's exactly what automation is for.
On algomax you — the level, the pullback condition, the volume filter, and the stop — and the assistant turns it into a ready-to-run bot. Before going live, to see how often breaks actually retested versus ran away, and whether the filter left you enough trades to be worthwhile.
A retest strategy can look great in a backtest simply because you only counted the breaks that came back. Check how many valid breakouts you skipped — that's the real cost of waiting.
Key takeaways
- A retest entry waits for a broken level to be reclaimed and held, filtering many false breakouts.
- The payoff is a tighter, more logical stop just beyond the retested level.
- Confirm with drying-up volume on the pullback and a hold at (not far below) the level.
- Strong trends may never retest — backtest to see how many trades your filter costs you.